Most wallpaper installation projects — including accent walls, powder baths, and small rooms — are typically completed in one day. Our goal is to provide a smooth, efficient installation process with clean, professional results.
To ensure the best possible finish, we ask that the following conditions are completed before installation day:
- Furniture is moved away from the work area
- Any nearby construction or painting is fully completed
- Walls are smooth, flat, and free of texture
- Walls have not been freshly painted within the last 30 days
- Surfaces are properly primed and ready for wallpaper installation
Proper wall preparation is essential for long-lasting adhesion and a seamless final appearance. If you have questions about wall readiness or prep requirements, we’re happy to help guide you before your scheduled installation.
Our Preparation & Installation Standards
What separates our work from many installers is the level of preparation and precision we bring to every project. Proper prep and layout are essential for achieving clean seams, strong adhesion, and a professional finished appearance.
Our process may include:
- Skim coating walls to eliminate texture and create a smooth surface
- Priming walls with the proper wallpaper primer for reliable adhesion and future removability
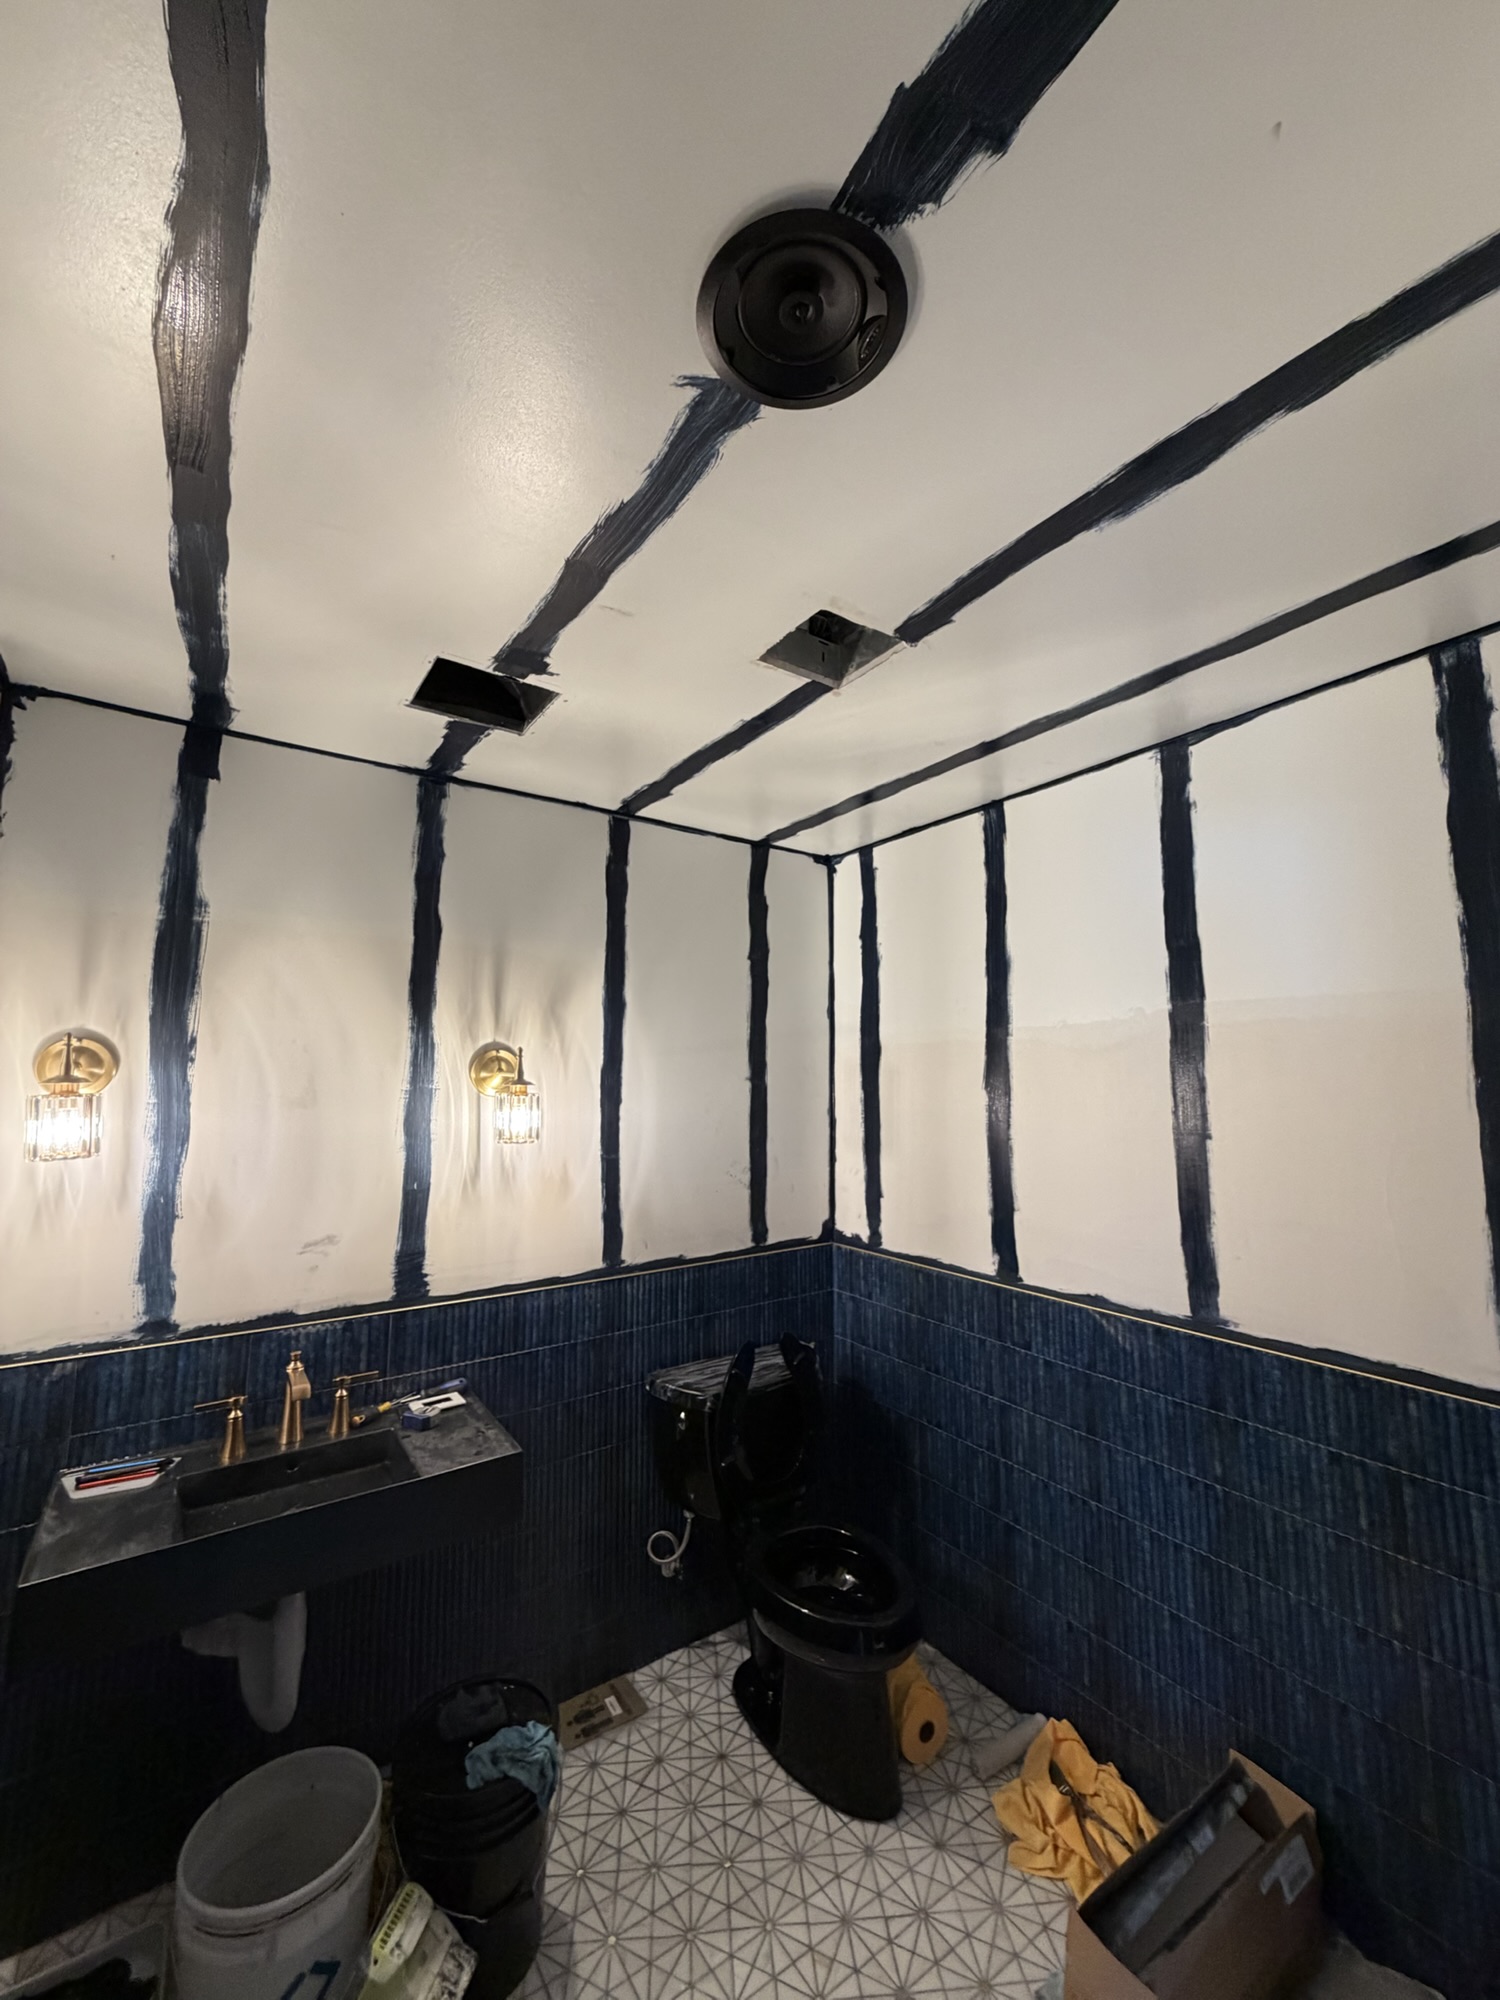
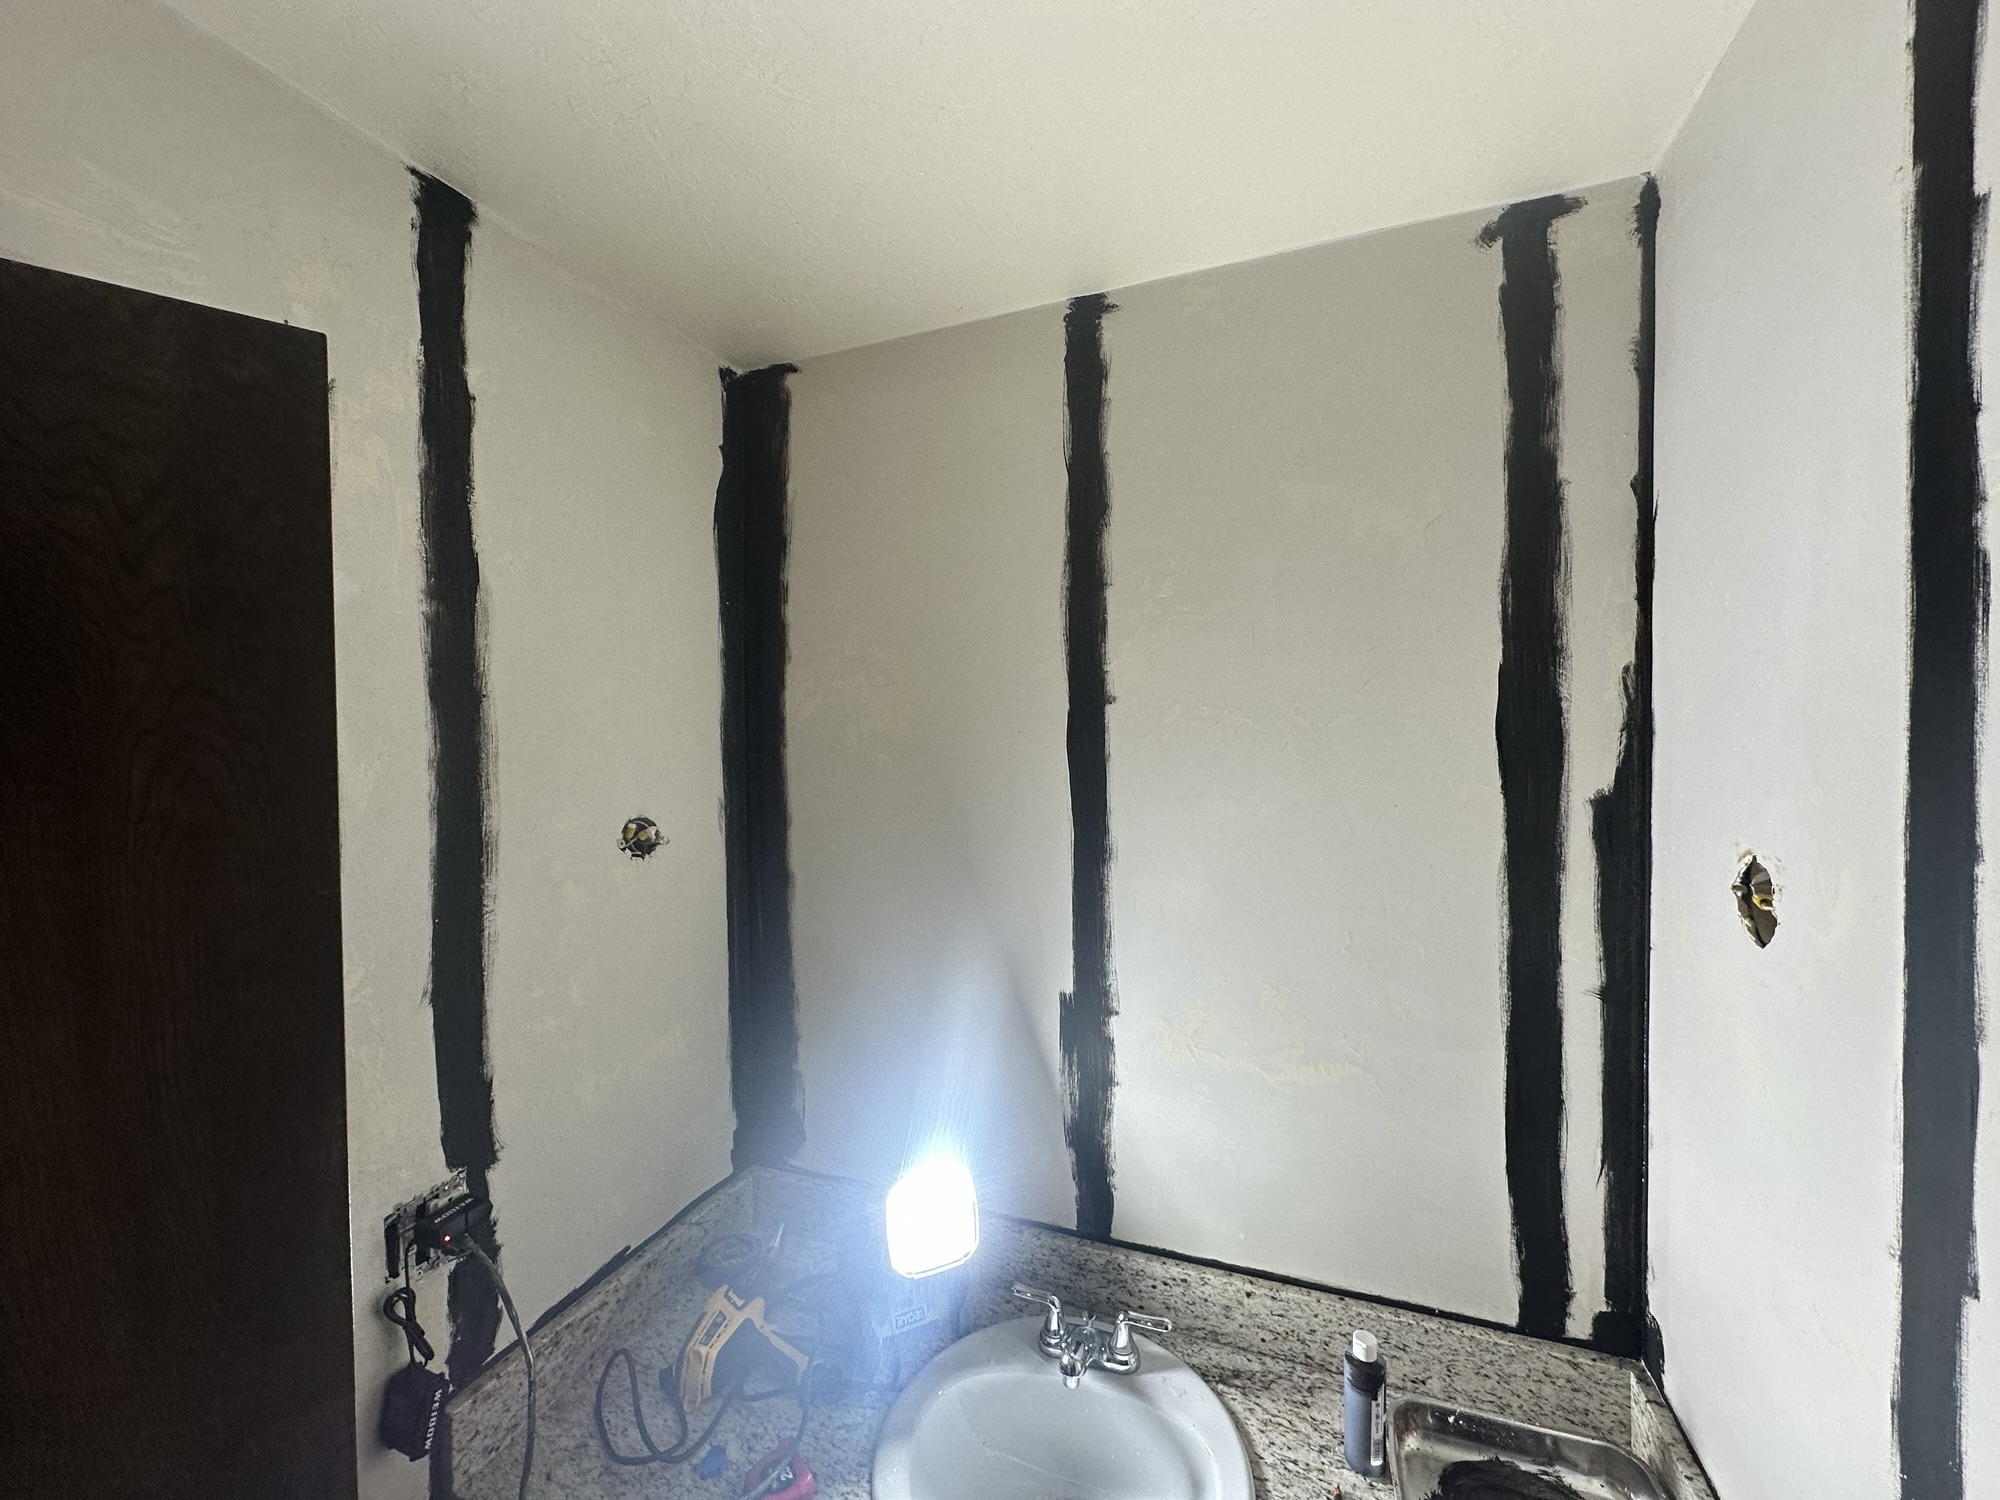
- Striping seam areas behind darker wallcoverings to reduce visible white seams
- Chalk blending darker wallpaper edges to help seams disappear
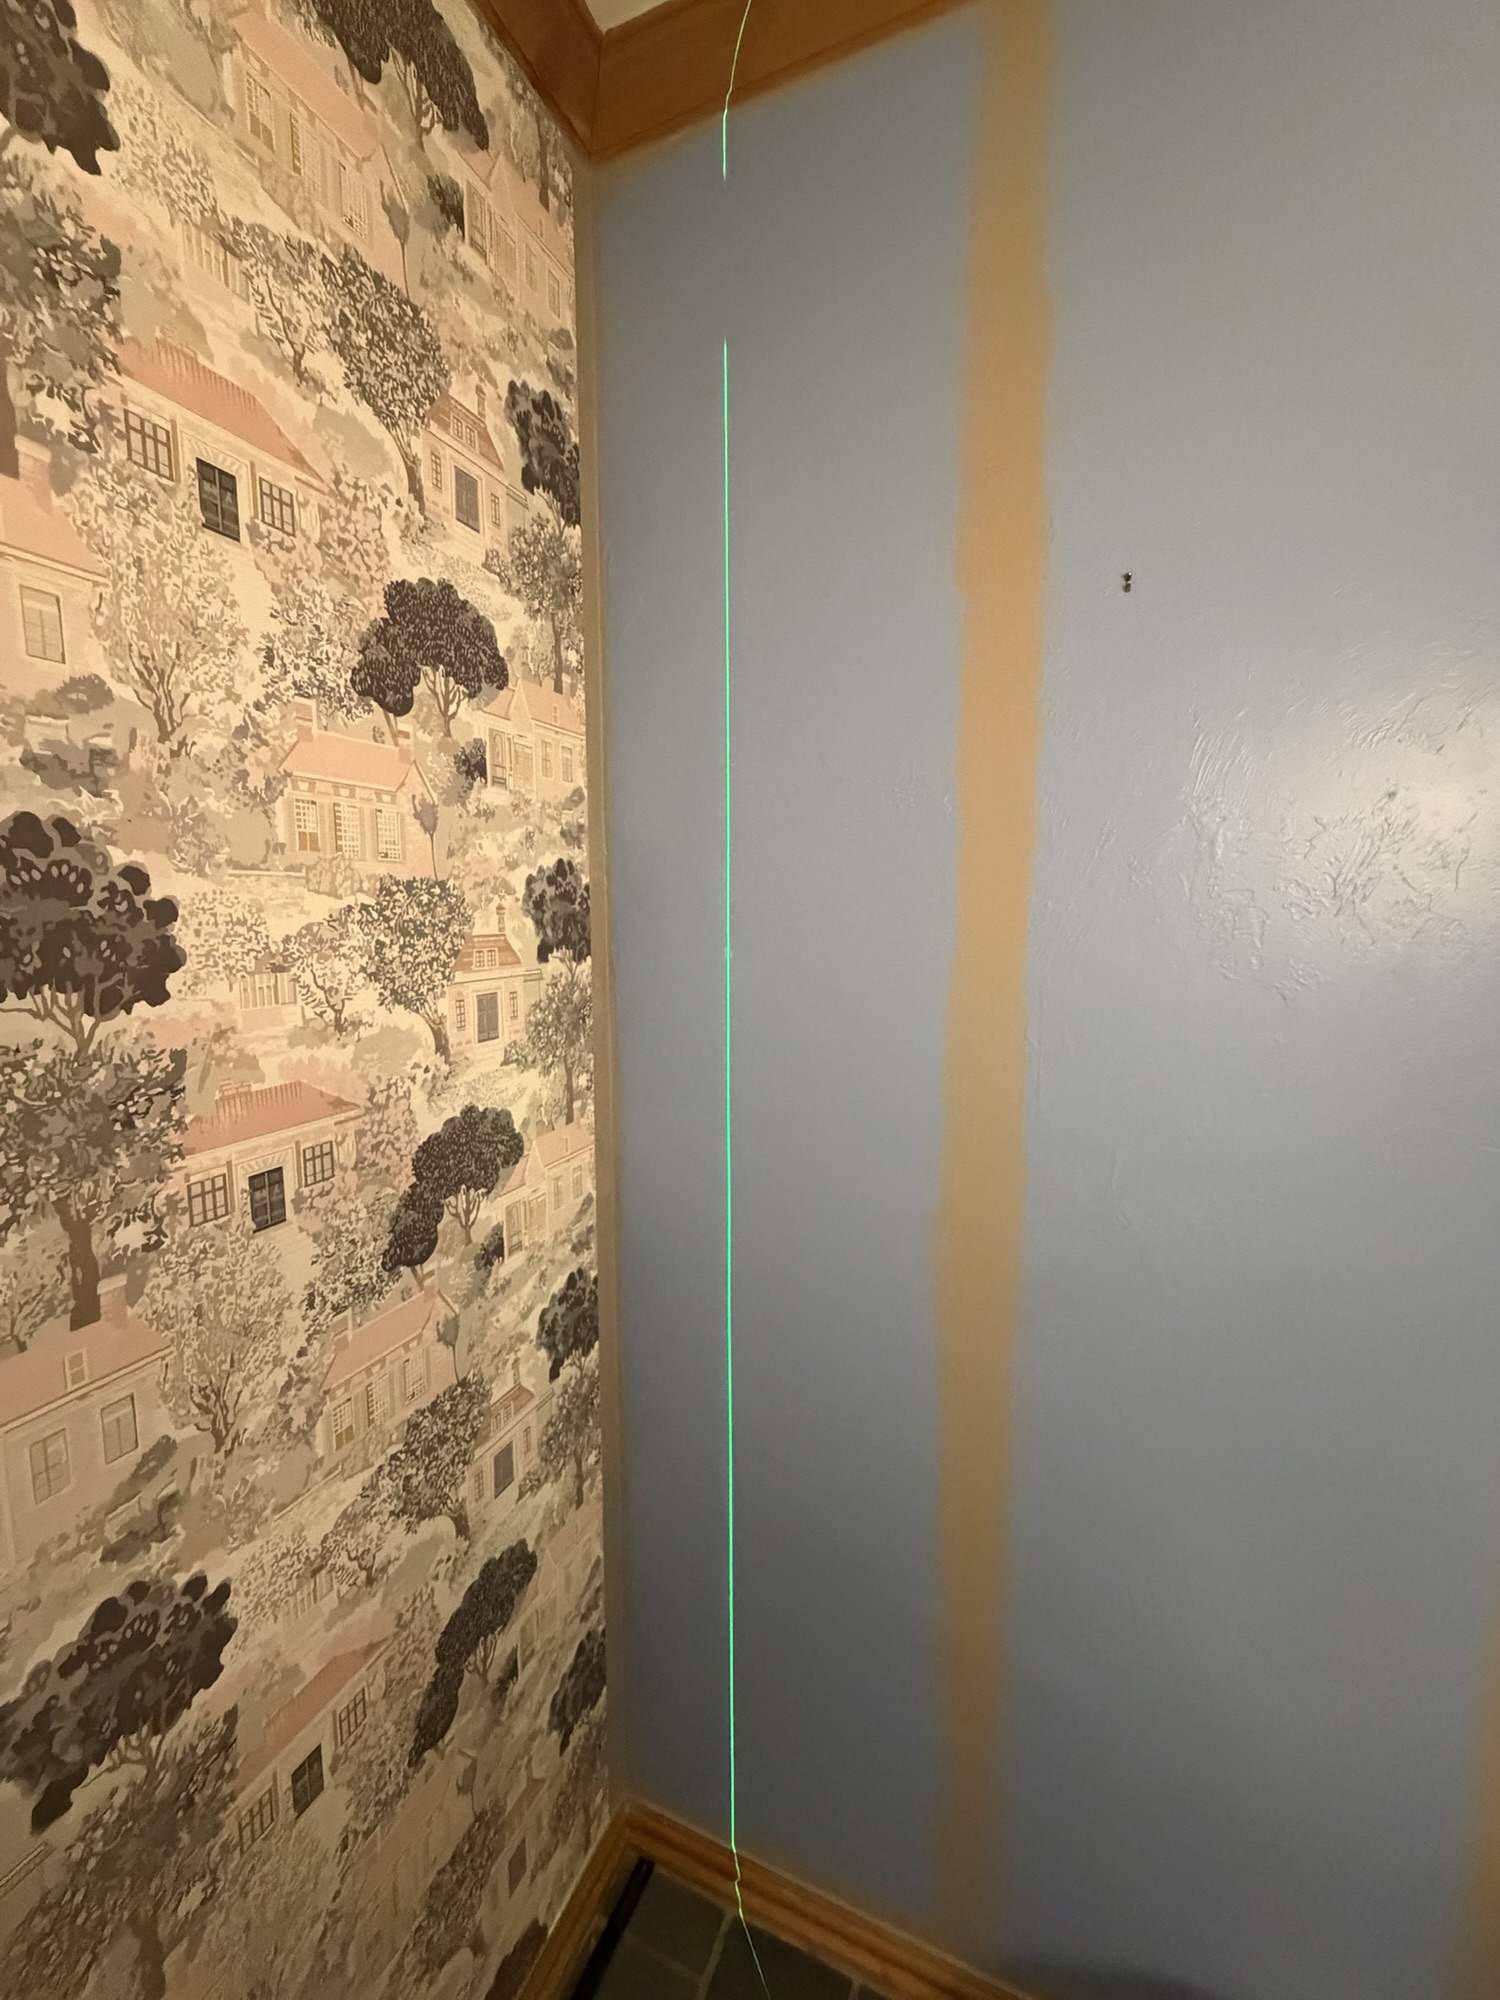
- Laser-aligning panels at the start of installation and at every corner to compensate for walls that are out of square
- Careful pattern matching and panel layout for a seamless finished look
These extra steps help deliver a cleaner installation, tighter seams, and a more refined final result that stands apart from standard wallpaper installation methods.